Probiotics have many proven benefits: they improve immune system, digestion and help to alleviate allergies, inflammation and autoimmune diseases.
Sounds nice, but where do you get them?
One option is to buy and take probiotic supplements (e.g. Elsavie’s Probiom or Probiom+).
The other and much more interesting way is to make them yourself at home by learning to ferment your own foods.
How do you do it? Is it complicated (hint: nope!)? Read on to start exploring the fabulous world of fermenting!
Fermenting is not pickling!
Throughout the centuries people have been really creative when it comes to preserving foods (there were no refrigerators 🥶, you know).
Fermenting is a very old and known way to preserve and store foods over the winter with the help of live bacteria. In addition to having good bacteria that help to preserve your food, they also have a probiotic effect. Therefore – eating fermented foods is really beneficial for your health.
But… fermenting isn’t the same as pickling!
Vinegar is used during the pickling process. The purpose of vinegar is to kill all the live bacteria in the food. For that reason there are no probiotic qualities in pickled foods.
Why is it important to have probiotics in your food?
Fermented foods help with detoxing, preventing oxidative stress and the risk of developing tumors. It has been shown that fermented foods are beneficial with lactose intolerance, inflammations, acne and with some skin diseases like atopic eczema.
These kinds of foods also help to inhibit autoimmune diseases and yeast infections in your body.
In addition, during summertime, when you probably eat more fat and meat heavy meals (barbeque!), bacteria in fermented foods help your gut to digest all of it more quickly, making you feel light again.
How much fermented food should you eat in a day?
It’s good to eat fermented foods regularly, because lactic bacteria don’t live permanently in your gut, but it’s good when they pass through your digestive system every day.
We recommend eating 1 tablespoon of fermented foods every day. Even better when you make it to 3–4 spoonfuls so you can keep the good bacteria in your gut.
What foods can you ferment?
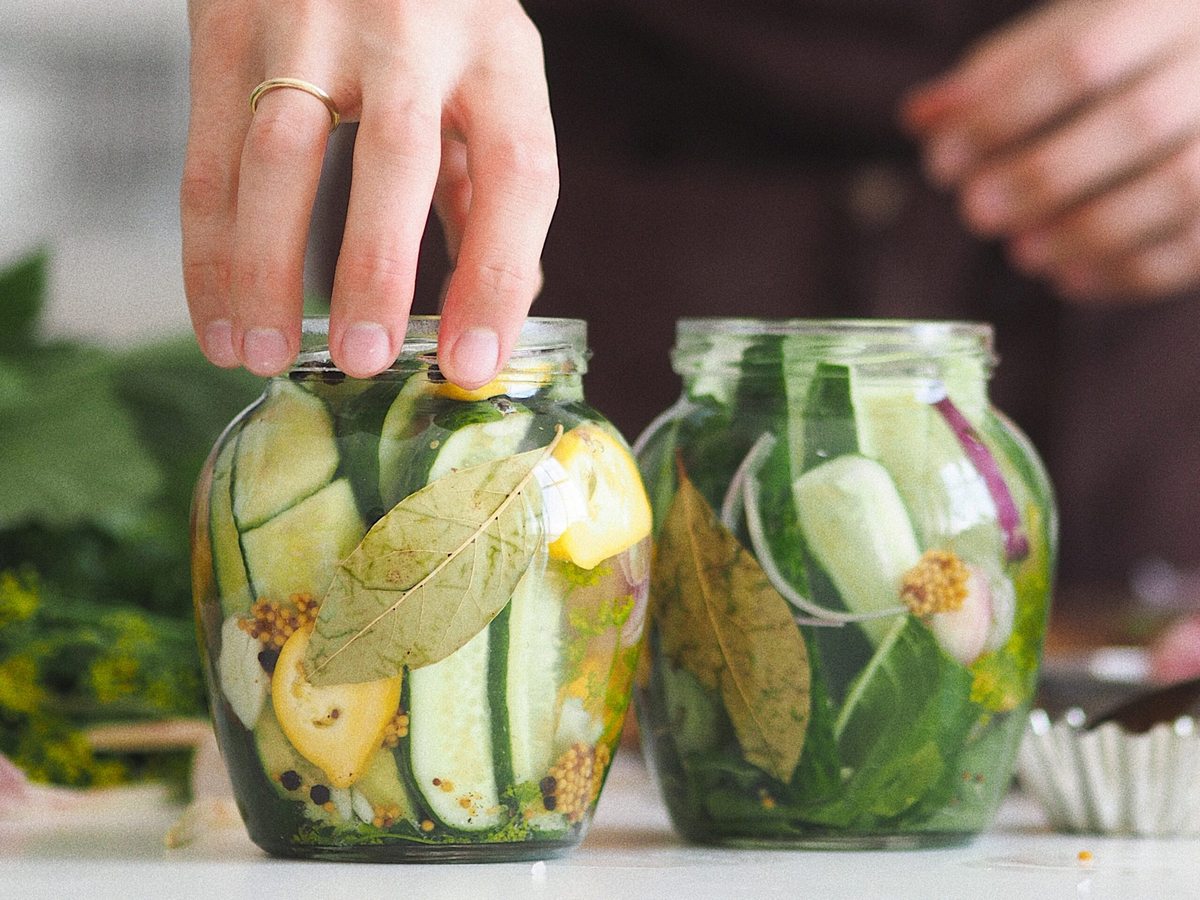
Probiotics occur in every fermented food so you can ferment almost anything! You can use cabbage, radish, carrot, parsnip, garlic, parsley, dill, bell pepper, ginger, beetroot, cucumber, aubergine, blackcurrant leaves, asparagus etc.
Classical combinations are:
- Cucumbers with garlic, dill and blackcurrant leaves.
- Vegetable salad: cabbage, bell peppers, carrots and eggplant.
- Kimchi: cabbage, onion, garlic, ginger, chilli flakes and sugar.
Pick your favorites, put them in the jar and ferment away!
Bulletproof recipe for fermenting (7 easy steps)
(Recipe by nutritional therapist Katri Merisalu)
1. Clean your glass jar by using boiling water. NB! Do not use detergent and wash your hands without soap as well because detergent residue can prevent formation of bacteria.
Wash and cut your vegetables into suitable pieces.
- Remember, the smaller the pieces the faster the fermentation process.
- Vegetable mix acidifies faster than one kind of vegetables.
2. Use natural coarse sea salt. Salt is an important ingredient during fermentation, because it protects vegetables from the mold and bad bacteria until you have enough probiotics formed in your jars.
3. Boil 1.5 liters of salt water per one jar and let it cool.
General rule of thumb is 10–15 g of salt per 1 kg of vegetables or 1 tablespoon of salt per 1 liter of water.
4. Put your vegetables tightly in a jar so there is as little air space as possible. Pour the lukewarm saltwater into a jar and make sure that all vegetables are covered with water. Leave 5–8 cm of free space from the upper end of the jar.
5. It is important to make sure that all the vegetables are in the salt water. For that reason place a small, clean plate on top of the vegetables and a heavier object to that (e.g. a small stone). Cover the jar with a clean kitchen towel to prevent dust getting into the container.
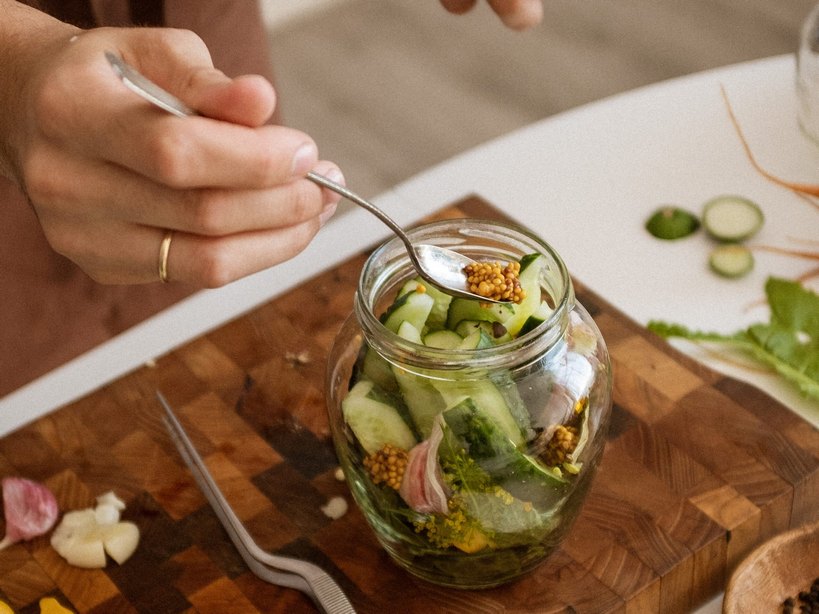
6. During the next few days check if your vegetables are covered with salt water. Push them back into the water, if needed.
When foam forms on the water surface then remove it with a clean spoon.
7. Leave the jar at room temperature (18-20 degrees Celsius) until the fermentation starts. It should take 2–3 days to start.
It’s good to give a little taste test on the 3rd day. If you are happy with the taste you can start enjoying your fermented foods. If you don’t eat everything at once, then close the lid tightly and place it in the fridge to slow down the fermentation process.
NB!
- If you want to store your jars for the winter, then leave them somewhere cold (fridge or basement) and don’t open your jars before the fermentation process is over. It ends after 4–6 weeks.
- Don’t use your fingers or dirty cutlery to pick the vegetables from the jar. Otherwise microbes that slow down the process might get in.
- Eat fermented foods without treating them with heat. Otherwise, you lose all the good properties.
It’s that simple! Give it a try and enjoy! 😋🍴
PS! Share your fermented art on Instagram or Facebook by tagging us @myelsavie!